 Home › Programs › Ranger › Ranger Walkthrough - Page 2
Ranger Walkthrough (Page 2)
What happens if you want to edit a claim? Simple, just either double-click on the
claim in the list, or alternatively, select it in the claim, and then press the
"Edit Claim" button. this is what pops up:
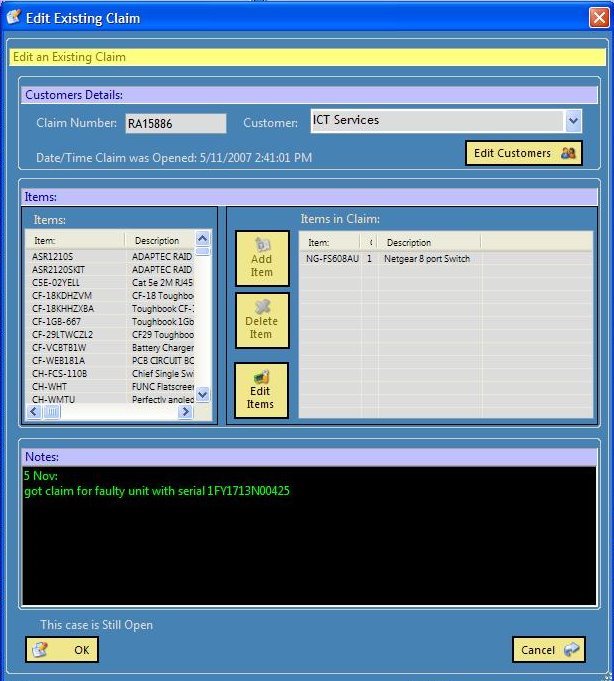
As you can see, here is the main part of the claim. On the top are the basic details,
a Claim number, and then your customer name. Underneath that, it tells you when
the last time the claim was modified. If your customer is not in the list, you can
add them. Underneath that, is the product selection part. Here you select what product
that the user has (and again, if it is not in the list, you can add an item to the
list by pressing the "Edit Items" button). Once you selected that, you are prompted
for the quantity of the item. You can add as many items to the claim as you want.
Next, there is the Notes section. You can write anything that is relevant to the
claim. In this case, i just wrote that the units were swapped over. Under that you
can see that the claim is still open (if the claim was closed, you wouldn't be able
to edit any of the information on this screen, just be able to read it).
Now, say you want to add a Customer, press the "Edit Customer" Button, and this
pops up:
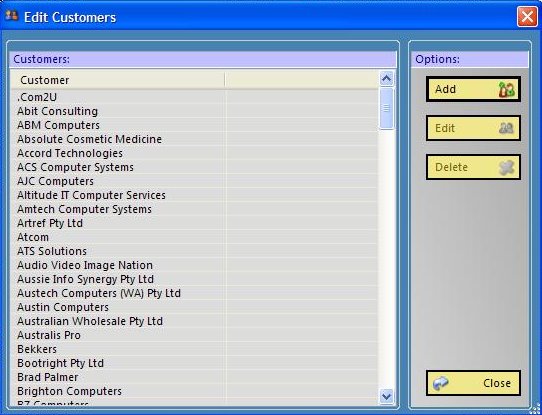
Here is the list of all the Current Customers you have. You can either Add, Edit
or Delete them. You can also access this window by pressing "Edit Customers" from
the Toolbox Menu on the main Ranger Window.
If you want to add more items to Ranger, just press the "Edit Items" button. It
will pop up:
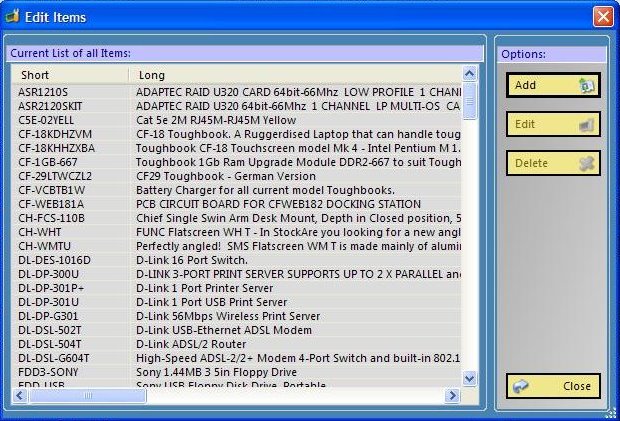
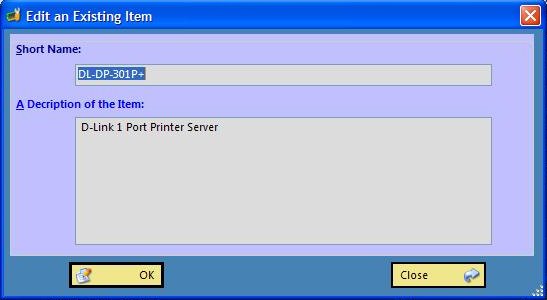
As above, you can Add, Edit or Delete any item. On this window, you have two columns,
"Short" and "Long". Short is meant to be used as a SKU (or similar), whereas Long
is a Description of the Item (as at times, a lot of stock codes have no meaningful
descriptions by itself). you can see it in more detail in:
Previous Page
|
Next Page